
A few years ago, my wife and I bought our first home. We didn’t have a lot of money and were expecting to buy a fixer-upper like a lot of people do with their first house purchase.
After looking at a few that just didn’t work for one reason or another, we asked our realtor to show us a house that we knew was a little out of our price range. Big mistake - the house was perfect!
A century home that the previous owner had completely gutted and renovated up to modern standards. But, here’s what really got us: he kept and reused all the original trim, thus retaining all the charm of an older home without any of the hassles.
After talking (read: beg, plead, grovel) to our parents and having a close look at our finances, we decided to make an offer. It was below the asking price, so we weren’t too hopeful. However, as it turned out, I went to highschool with the owner and he was willing to negotiate.
To our delight, instead of buying a starter house, we were moving into our dream home!
While that was great and all, we were now officially poor.
After living with our tacky, old, and sometimes broken, furniture for a while, I decide to figure out if I could make some items that would be cheap, yet a lot less embarrassing. After consulting with the good people down at the internet, I learned that I could.
The first piece I decided to replace was our dining room table. Here’s what I did:
Since I didn’t have many tools at the time, and even fewer skills, I kept the project as simple and straight-forward as possible.
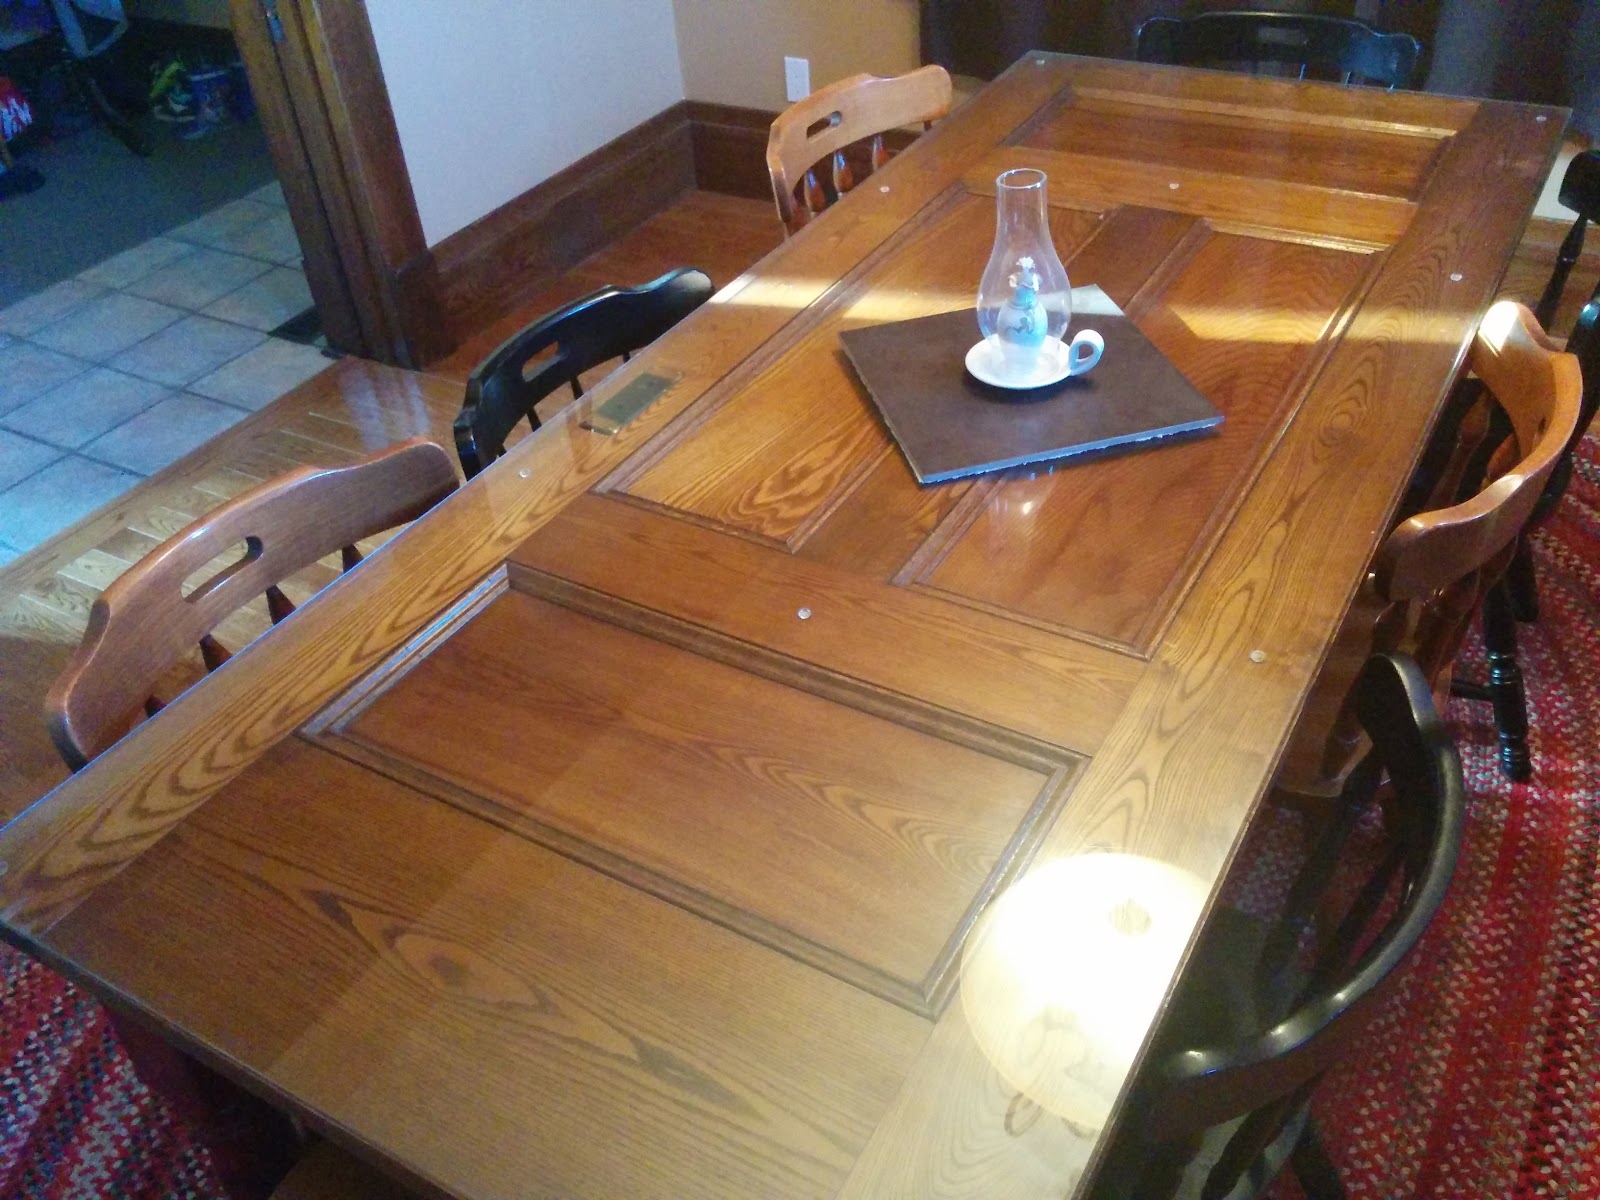
As, mentioned, the previous home-owner reused as much of the original character pieces as possible, and that included the doors. However, the renovation involved the removal of a few walls to create more open areas. As buyers, we loved that, and as an owner, I appreciated that he kept the doors that were not reused.
I picked my favourite, and took some measurements. After a quick trip to my local glass shop, I had a piece of ¼-inch glass on order.
While I waited for my glass-top to arrive, I focused on figuring out how to suspend it above the floor. I was told about the Habitat for Humanity ReStore and paid them a visit to see what I could find.
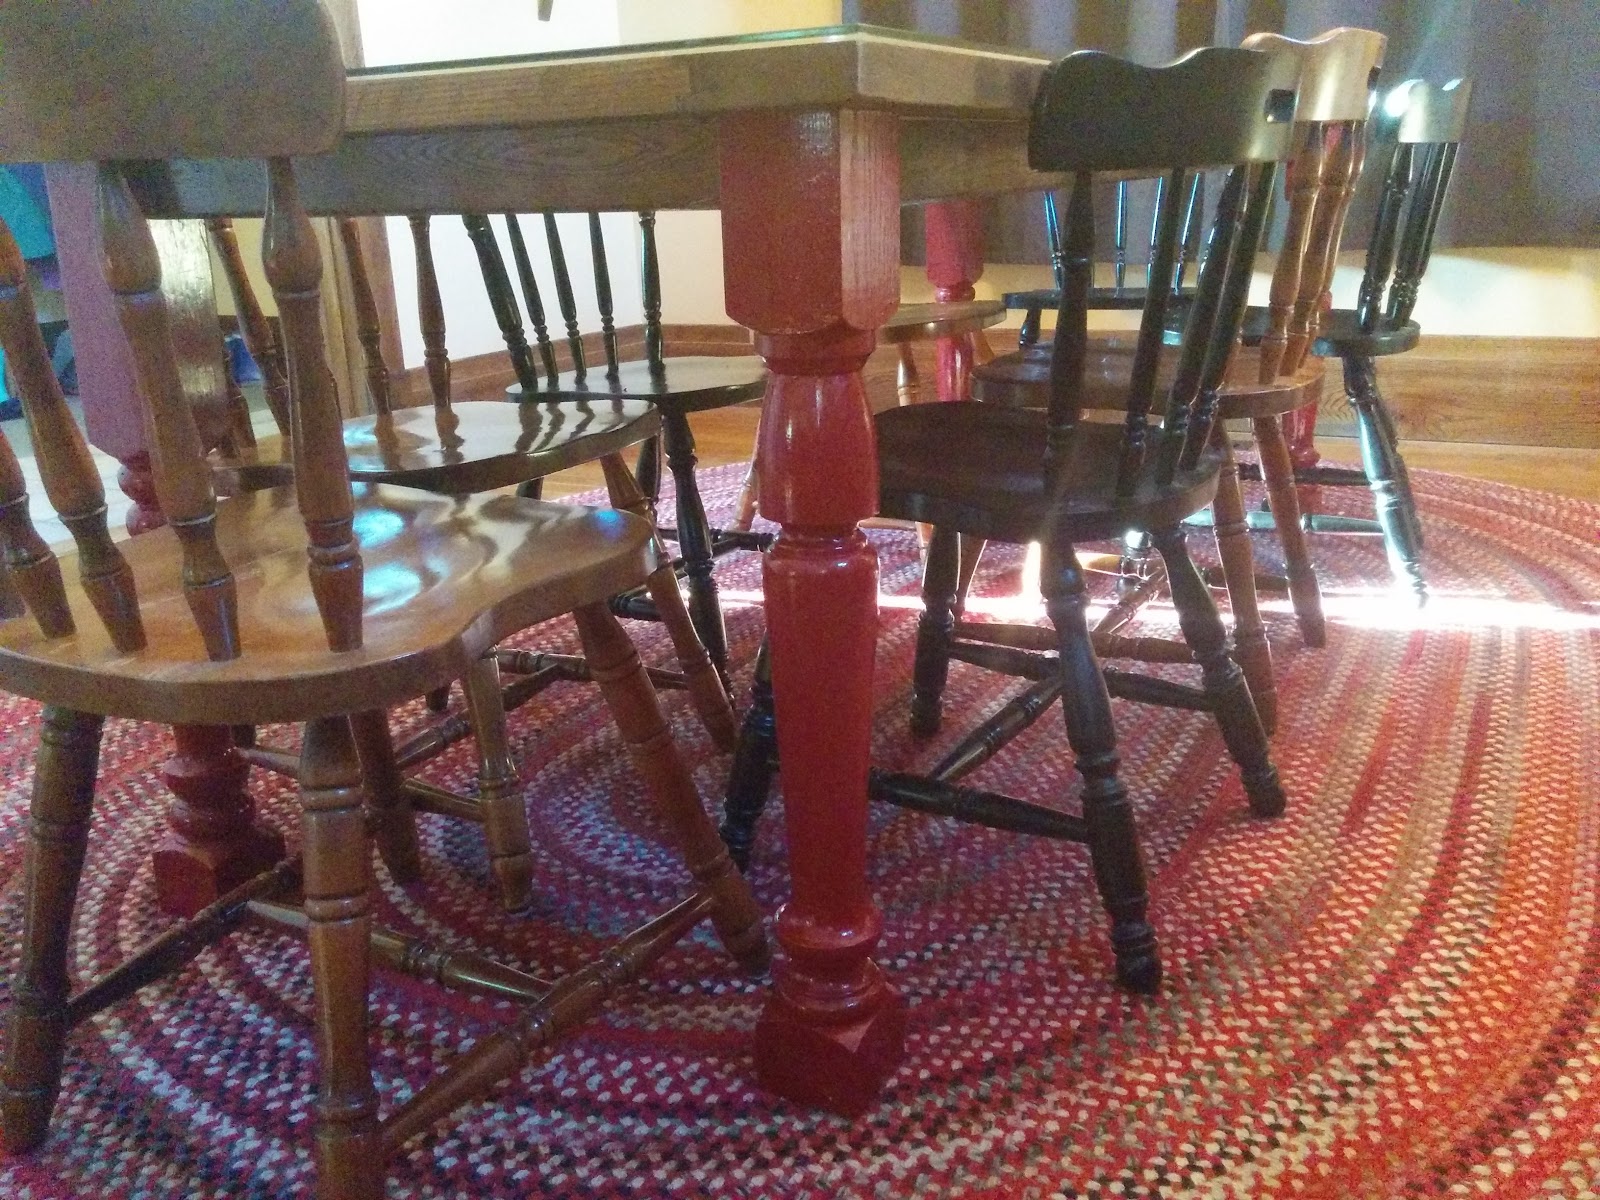
What I came home with were 4 mismatched, unused banister newel posts. They were plenty long and strong enough, and I liked that they didn’t match as it would add to the character. My wife decided that red would be our accent colour, so after cutting them all the same length, I bought a can of red spray paint to finish them off.
I found a long piece of 1-inch diameter dowel in amongst the other materials, so I cut a few pieces off to use as pegs to attach the legs. I also bought several small L-brackets at my local hardware store to add further stability.
To hide the hardware, I used a piece of baseboard trim. The house has beautiful wide hardwood baseboards, and the previous owner had purchased some newer replicate trim which he ended up not needing. I chose one of the newer pieces as to not ruin an original.
When the glass I had ordered came in, I assembled the table. All-in-all, it went together quite easily and all the tools I needed were a handsaw and an electric drill. I used a little sandpaper by hand to clean up my cuts, but other than that there was little else I needed to do.
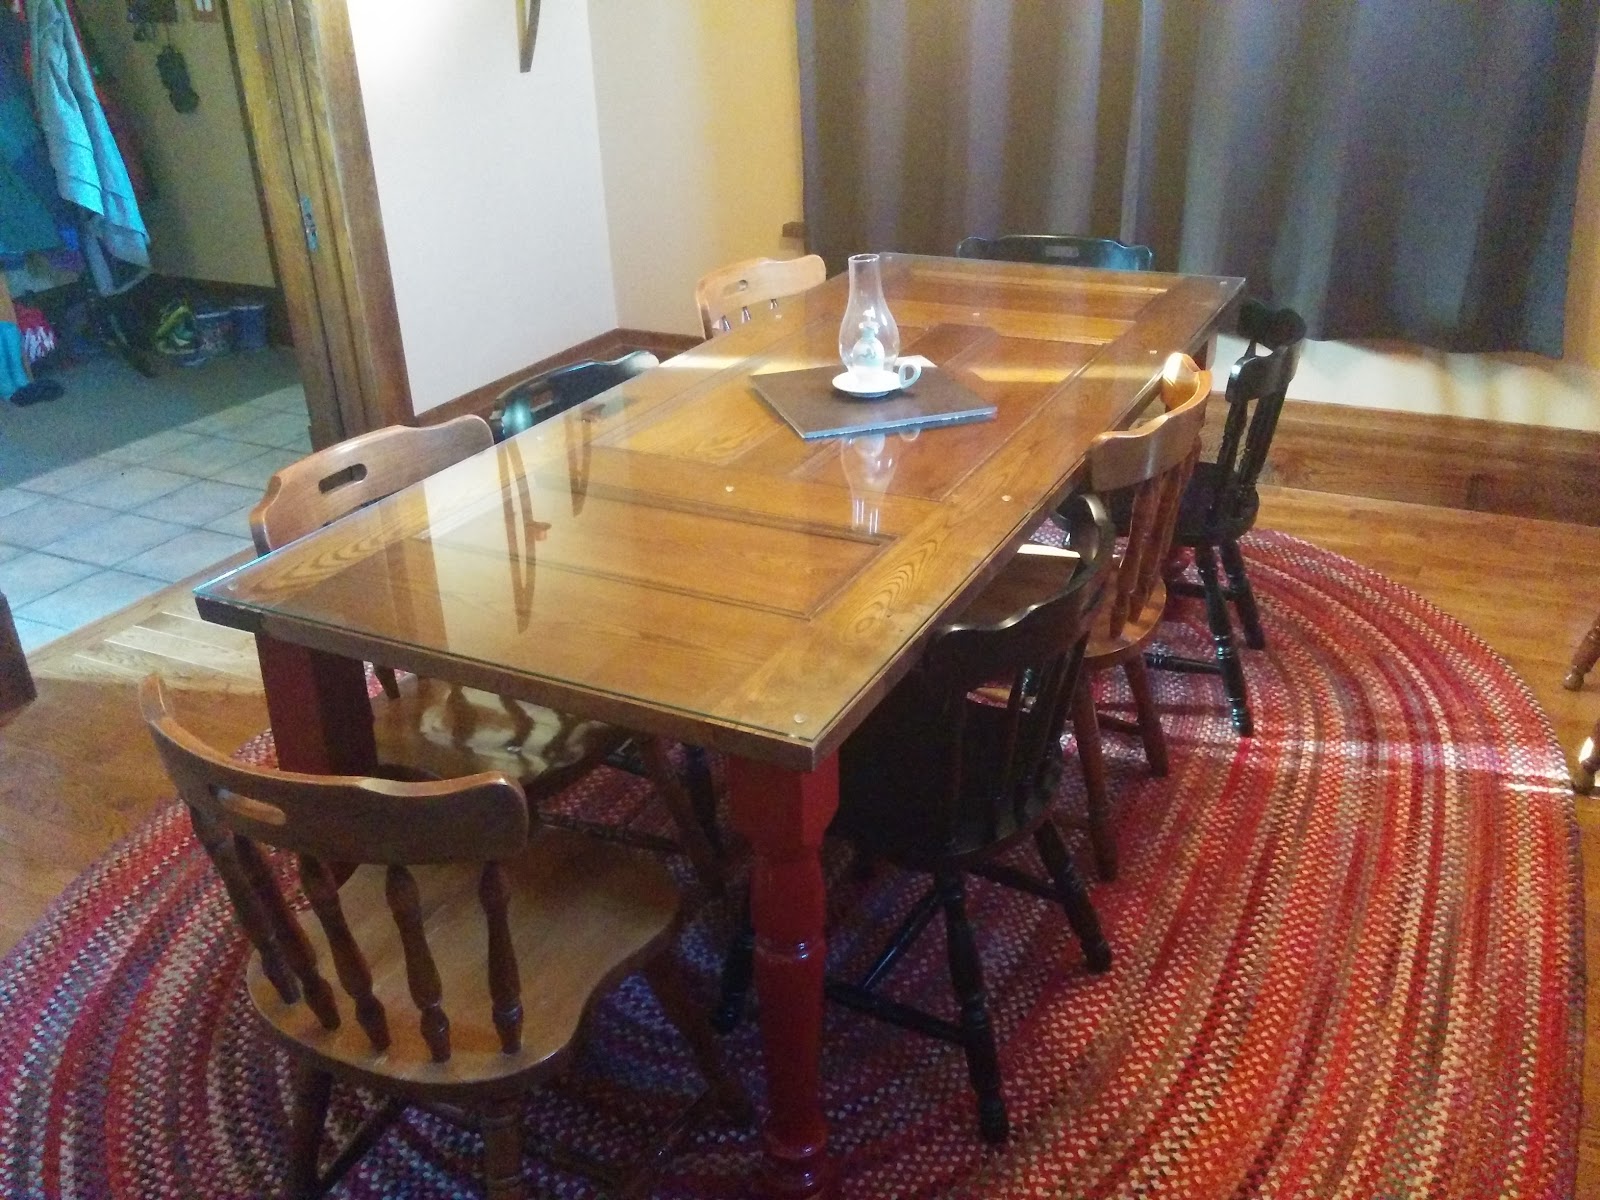
I’m pretty happy with how it turned out. It’s not something you would see somewhere fancy, but it can comfortably seat 8, matches the style of our house, and is unique.
What do you think about my dining table? Have you done something similar in your house? Let me know in the comments below.
No comments:
Post a Comment